Inspection and Analysis
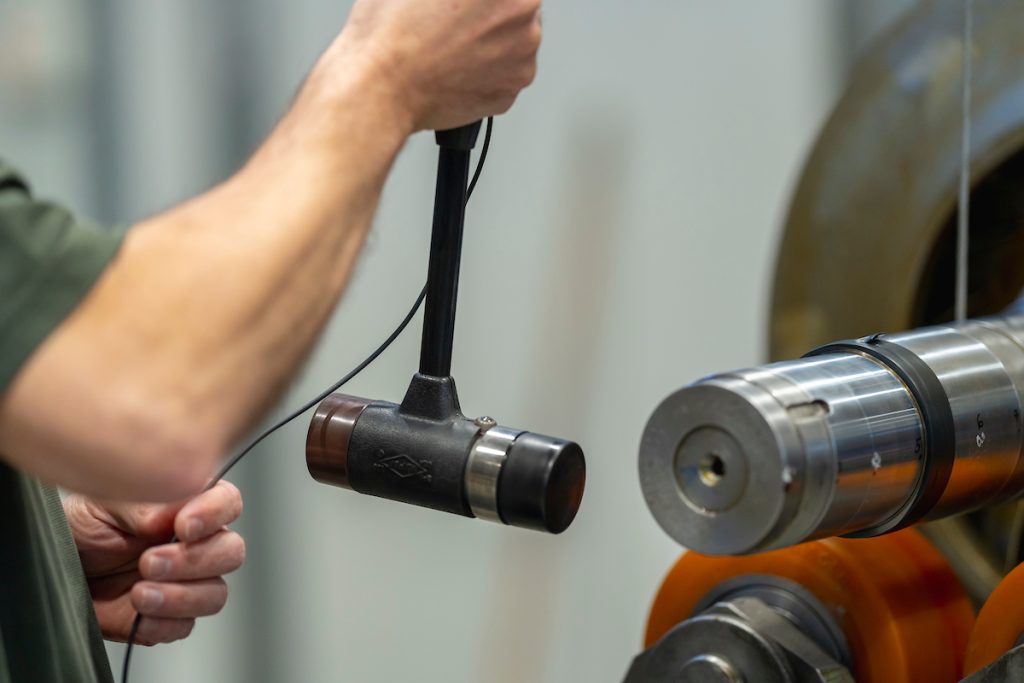
Various inspection and analysis systems are used as quality control to examine and measure the characteristics of finished parts (manufacturing or repair).
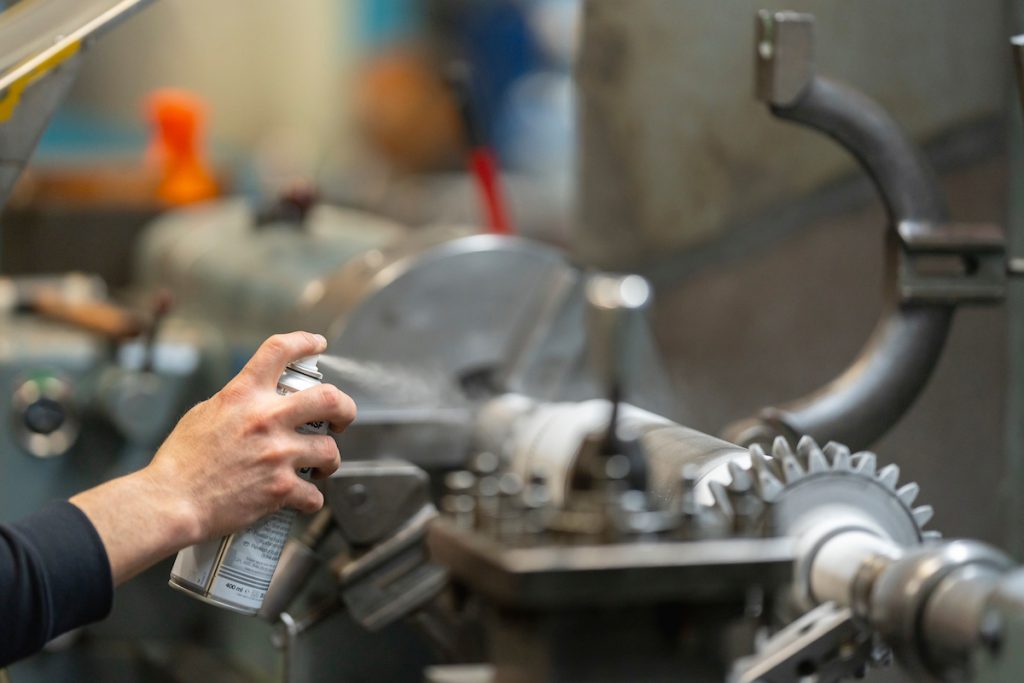
- NDT:At TMCOMAS, No Destructive Testing is carried out at the end of each work. This enables us to guarantee the maximum quality in our production and repair processes.
- Material analysis:At TMCOMAS, we analyse materials using our PMI machine (Positive Materials Identification) to find out their basic composition. This information can help us to build a part identical to the sample, to determinate whether the part is weldable or to apply a material approvement depending on its application.
- Certification and traceability:Quality certificates are issued at our facilities when all products are finished. We have an in-house department entirely dedicated to this task and approved to carry out Level 2 NDT.
- Inspection reports:To issue an inspection report in TMCOMAS, the initial condition of the equipment (or part) is analysed by detecting the differences in its common elements together with a repair proposal. The report can be made up various options: carrying out a material analysis, No Destructive Testing checks, a construction plan, a 3D scanner, a metallographic study of the failure, etc.
- ISO 9001-2008 quality management system:The quality management system applied within the mechanical engineering sector enables good planning, improvement and control of services.
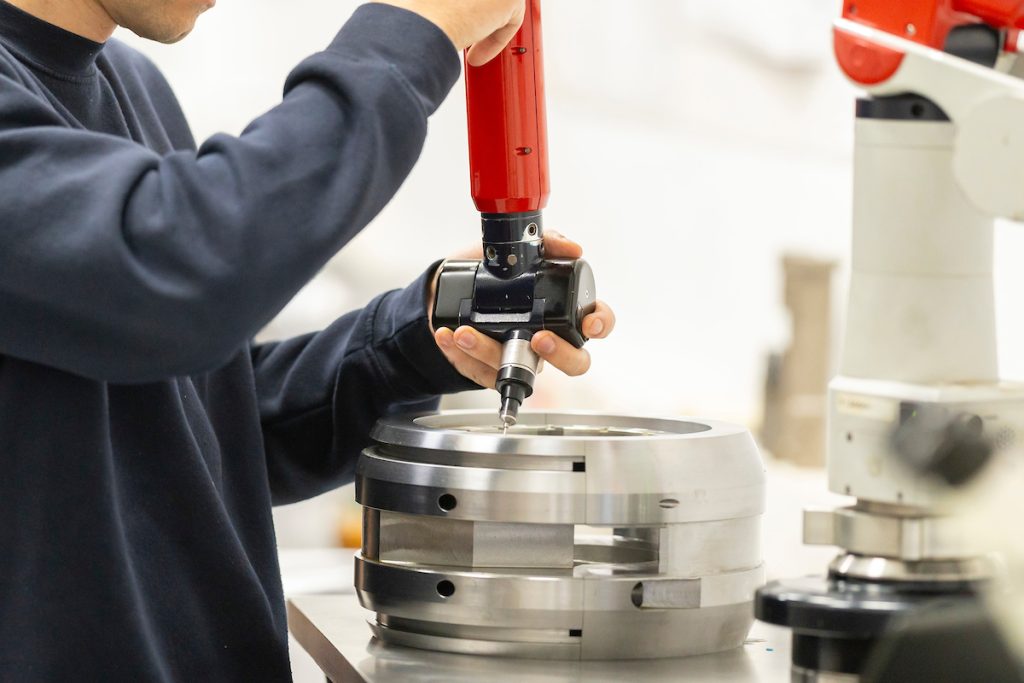
- Reverse Engineering:The reverse engineering service is very important to replacing obsolete parts in a machine that still needs to continue operating. Using a 3D scanner or Coordinate Measuring Machine (CMM), as well as Positive Material Identification (PMI) equipment, our specialist team prepares the documentation for the complete construction of a new assembly or part.


